> For the complete documentation index, see [llms.txt](https://help.intheloop.io/llms.txt). Markdown versions of documentation pages are available by appending `.md` to page URLs; this page is available as [Markdown](https://help.intheloop.io/shared-inbox/shared-inbox-settings.md).
# Shared Inbox Settings
You can change the settings for each individual shared inbox that you have set up.
If you are an **admin** you will be able to see a full set of settings.
If you are not an admin you will not be able to make any changes, you only have access to view the ‘General’ and ‘Members’ sections. The only action you are able to take is leaving a shared inbox.
To access shared inbox settings go to ***Settings > Shared Inboxes.***
1. [General](#h_01ewnjg1k1h7amem2cyj0fs4k5)
2. [Account](#h_01ewnjg87h7thh410w5gmz300t)
3. [Members](#h_01ewnjgcgmtnea479pp74j27dk)
4. [Rules](#h_01ewnjgzq9c6fb3xv6dxmst1as)
5. [SLA - Service Level Agreement](#h_01ewnjh3xtr82bd54ey1p054w6)
6. [Reporting](#h_01ewnjh85jnshmgrhva3cafv7r)
7. [Video guide to Shared Inbox Settings](#h_01exezpmkj8erzwpnn0gz0ck3p)
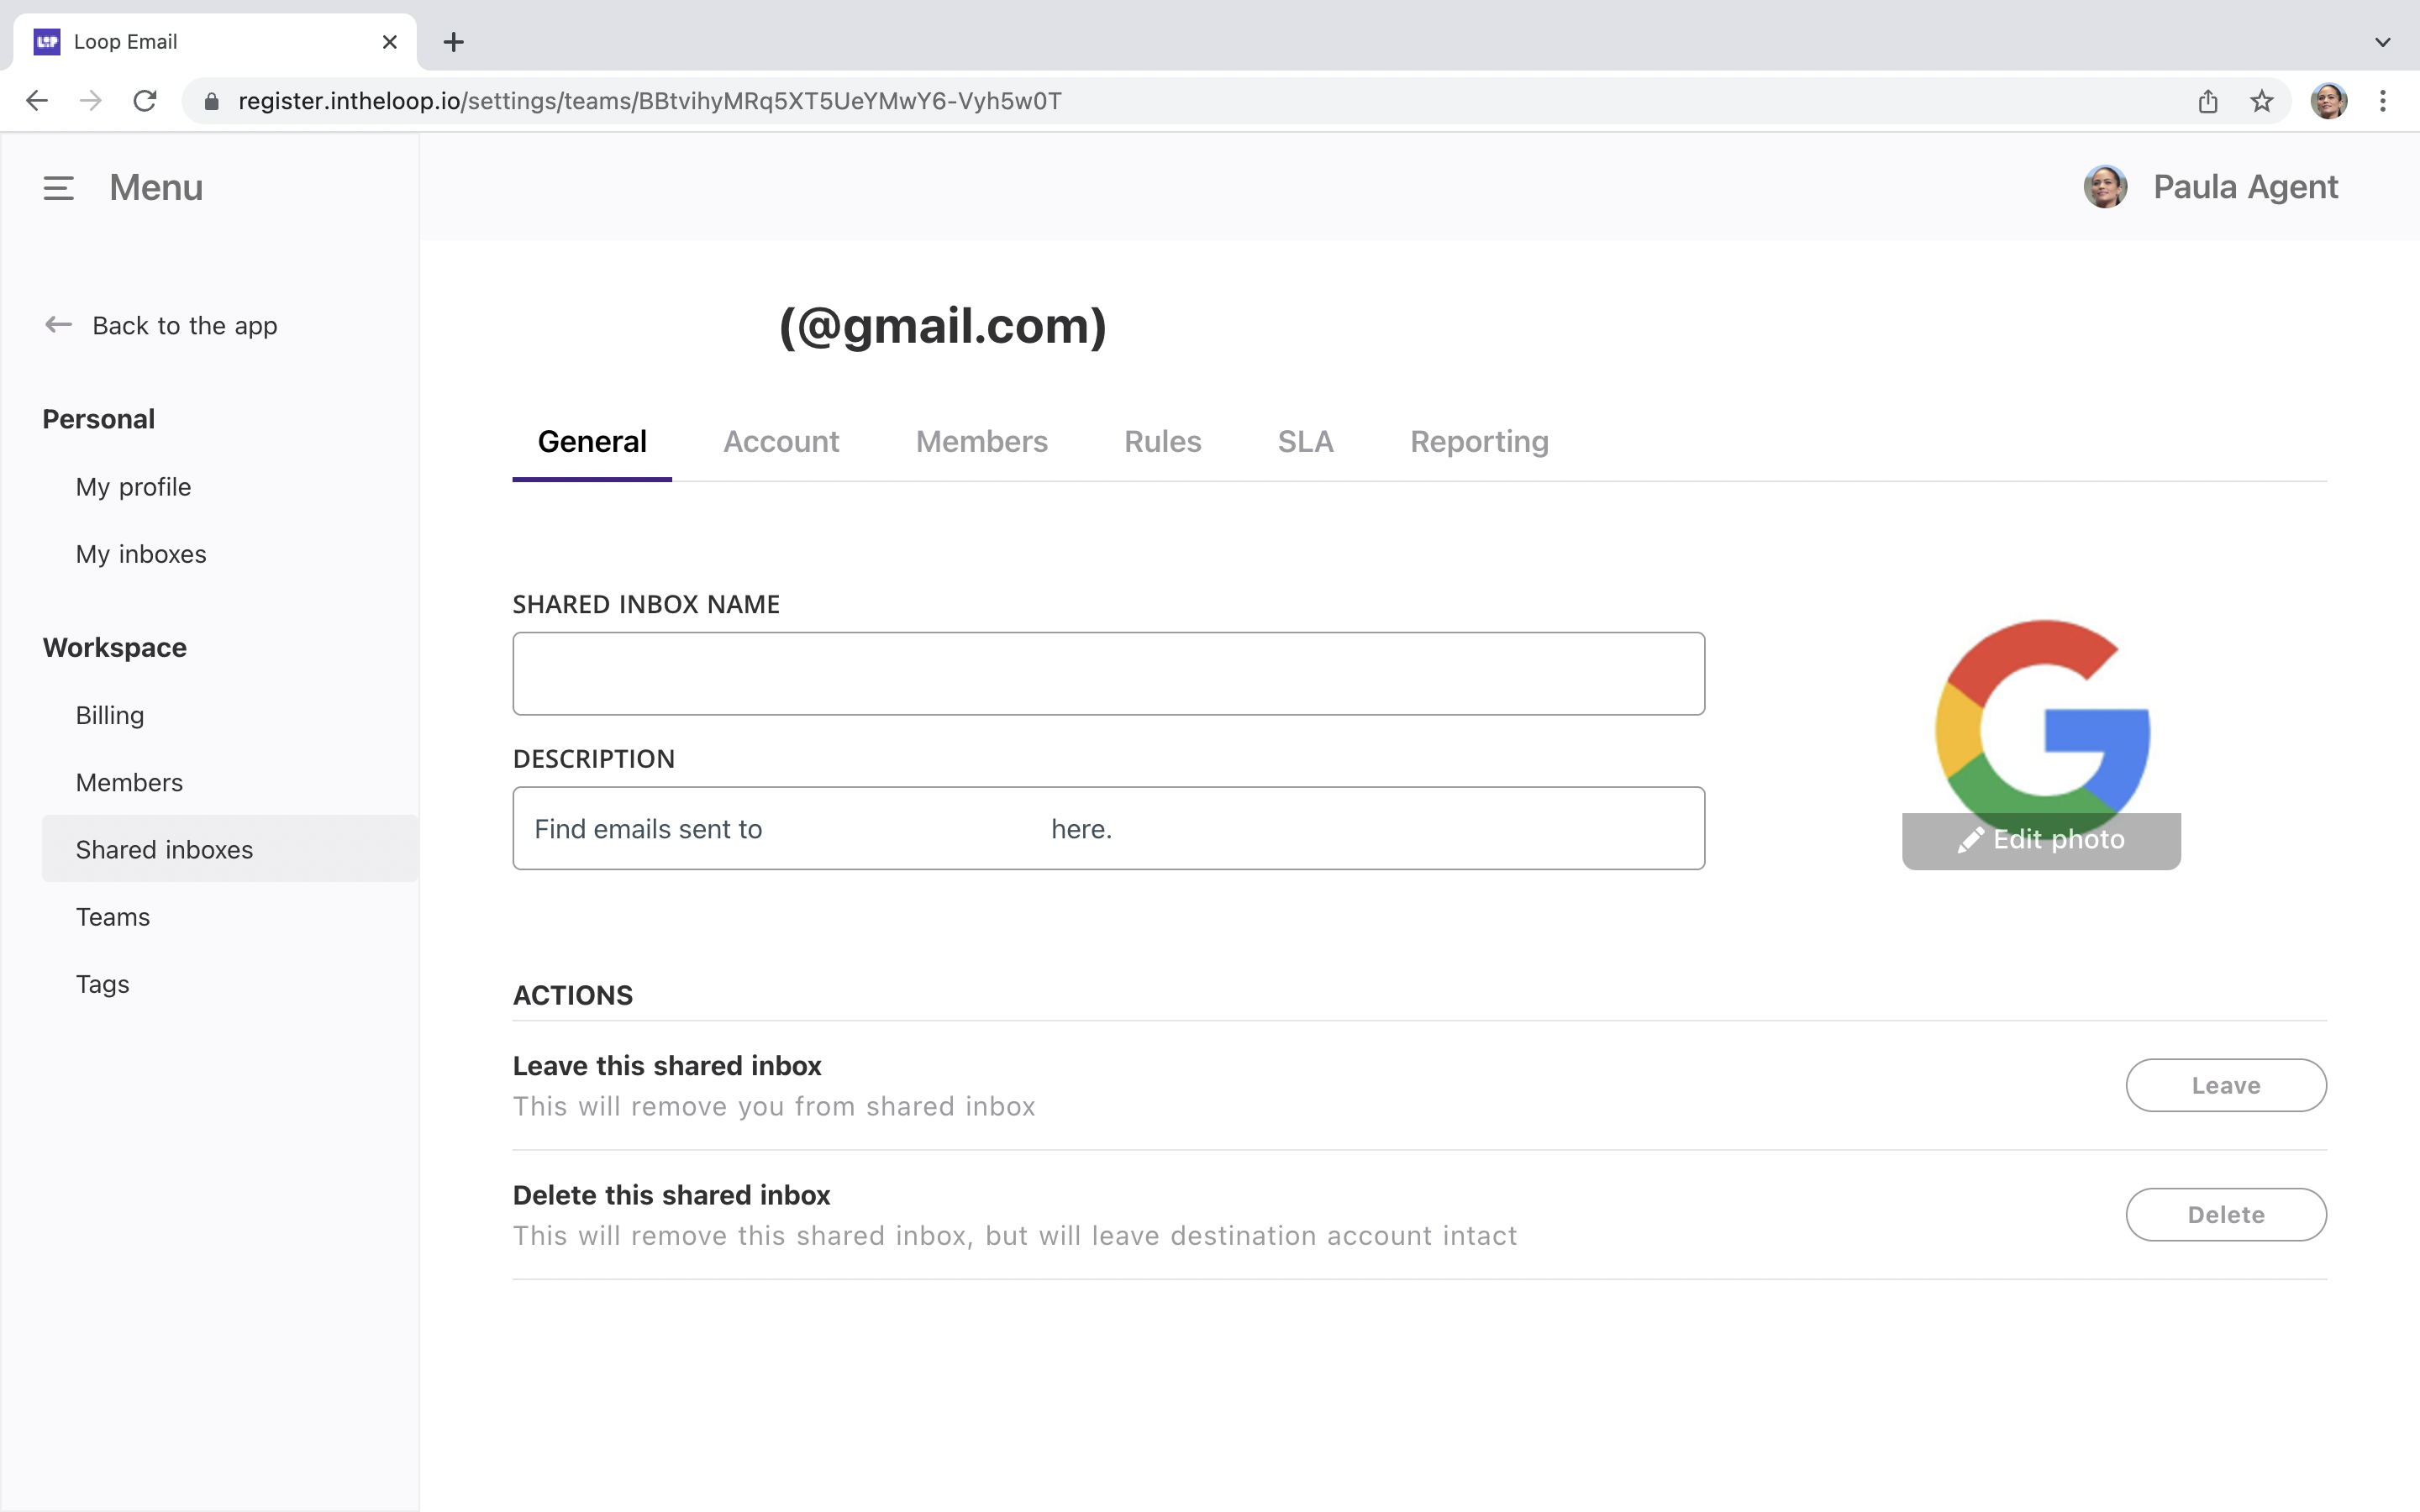
### General
* **Image** - Upload/edit an avatar or image to display alongside the shared inbox name
* **Shared Inbox name** - Edit the shared inbox name
* **Description -** Edit the description
* **Actions**
* Leave the shared inbox
* Delete the shared inbox (Only available to admins of the shared inbox)
### Account
* **Email** - this is the email for the shared inbox. It cannot be edited.
* **Display name** - Edit the display name - this is the name that appears when you send an email from the shared inbox
* **Syncing**
* **Status** - If your account has been disconnected, e.g you’ve had to reset your password, you can come here and re-sync the account. If you click on this button you will be redirected to the authentication process.
* **History** - Select a date that you want to import your history of emails from. You can also choose where you want the imported emails to be stored - *No action (Inbox), Mark as resolved, Move to archive or Move to delete.*
* **Policy** - Choose for emails to be kept in the inbox, deleted or archived. All emails will be received and will be visible to team members accessing the shared inbox. This setting will only affect the inbox within the source account attached to the shared inbox.
### Members
**Search -** Use the search bar to find a member of the shared inbox
**Admins -** A list of who has admin access to the shared inbox. To remove someone as an admin or from the shared inbox, click on the 3 dots to the right hand side of their name and select the action you want to take.
**Users -** A list of people who are members of the shared inbox. You can promote someone to ‘admin’ or remove them from the shared inbox by clicking on the three dots to the right hand side of their name.
**Add -** You can add people as admins or as regular members. Before you add someone, make sure that you have selected ‘Admin’ or ‘Members’ to ensure you add people with the desired status.
Once you’ve selected ‘Admin’ or ‘Members’ click on the ‘Add’ button. You will see a pop up window. The system will suggest other people with the same domain as you, as well as contacts that have interacted with the email address belonging to your shared inbox. You can also add people not on the list by typing in their email address at the top beside the magnifying glass icon.
### Rules
[Rules](/workflow-automation/an-introduction-to-rules.md) are a great way to help organise your shared inbox and automate your team's workflows.
You can automate what happens with new incoming messages, how they are assigned to your team, which emails skip the shared inbox altogether or make sure that your VIP customers get priority service.
To **add a new rule** click on the ‘Add rule’ button. You will then be able to choose the logic you want this specific rule to have.
To **enable/disable a rule** click on the switch to the right of the rule. When the switch appears blue the rule is enabled, when it’s grey the rule is disabled.
To **edit/delete a rule** click on the three dots to the right.
### SLA - Service Level Agreement
This is where you can adjust the settings which are in place to give your and your team a nudge when something has not been responded to or resolved.
You have 2 options to set:
* Send a nudge when a user fails to **respond** to an assigned task within in ‘X’ hours/days
* Send a nudge when a user fails to **resolve** an assigned task within ‘X’ hours/days
To **enable/disable** the nudge click on the switch to the right. When the switch appears blue the SLA is enabled, when it’s grey the SLA is disabled.
To **edit** the SLA click on the three dots to the right.
### Reporting
You can enable reporting so that each day, specific users will receive an email detailing the activity that has occurred within your shared inbox.
**Enable/disable** - When the switch appears blue reporting is enabled, when it’s grey reporting is disabled.
**Send reports to** - You can choose to send reports to the whole team, only to the admins or to a specific list of recipients.
**Custom list** - If you choose to send reports to a custom list then their names will appear. Click on the ‘Add’ button to choose who you want to send the report to. If you need to remove a recipient from a custom list simply click on the three dots to the right of their name.
### Video guide
This video explores the Settings for both Shared Inboxes and Teams.
{% embed url="" %}
---
# Agent Instructions
This documentation is published with GitBook. GitBook is the documentation platform designed so that both humans and AI agents can read, navigate, and reason over technical content effectively. Learn more at gitbook.com.
## Querying This Documentation
If you need additional information that is not directly available in this page, you can query the documentation dynamically by asking a question.
Perform an HTTP GET request on the current page URL with the `ask` query parameter, and the optional `goal` query parameter:
```
GET https://help.intheloop.io/shared-inbox/shared-inbox-settings.md?ask=&goal=
```
`ask` is the immediate question: it should be specific, self-contained, and written in natural language.
`goal` is optional and describes the broader end goal you are ultimately trying to accomplish on behalf of the user. GitBook uses it to tailor the answer towards what is most useful for that goal.
The response will contain a direct answer to the question and relevant excerpts and sources from the documentation.
Use this mechanism when the answer is not explicitly present in the current page, you need clarification or additional context, or you want to retrieve related documentation sections.